Sampler for Musicians: How to Turn Everyday Sounds into Unique Musical Compositions?
Sampler for Musicians: How to Turn Everyday Sounds into Unique Musical Compositions?
A door closing, a spoon tapping a mug, rain striking a window, or the steady hum of an appliance can all become the starting point for a piece of music. With a music sampler, musicians can record ordinary sounds, reshape them, and arrange them into rhythms, melodies, textures, and complete compositions. You do not need a professional studio or expensive instruments to begin. Curiosity, careful listening, and a few practical audio sampling skills can turn the world around you into a personal sound library.
What a Music Sampler Does
A sampler records or imports audio and lets you play it back in new ways. A sound can be triggered from a keyboard, pad controller, computer key, or touchscreen. Depending on the device or software, you might also chop a recording into smaller pieces, change its pitch, loop it, apply effects, or map different portions across a keyboard.
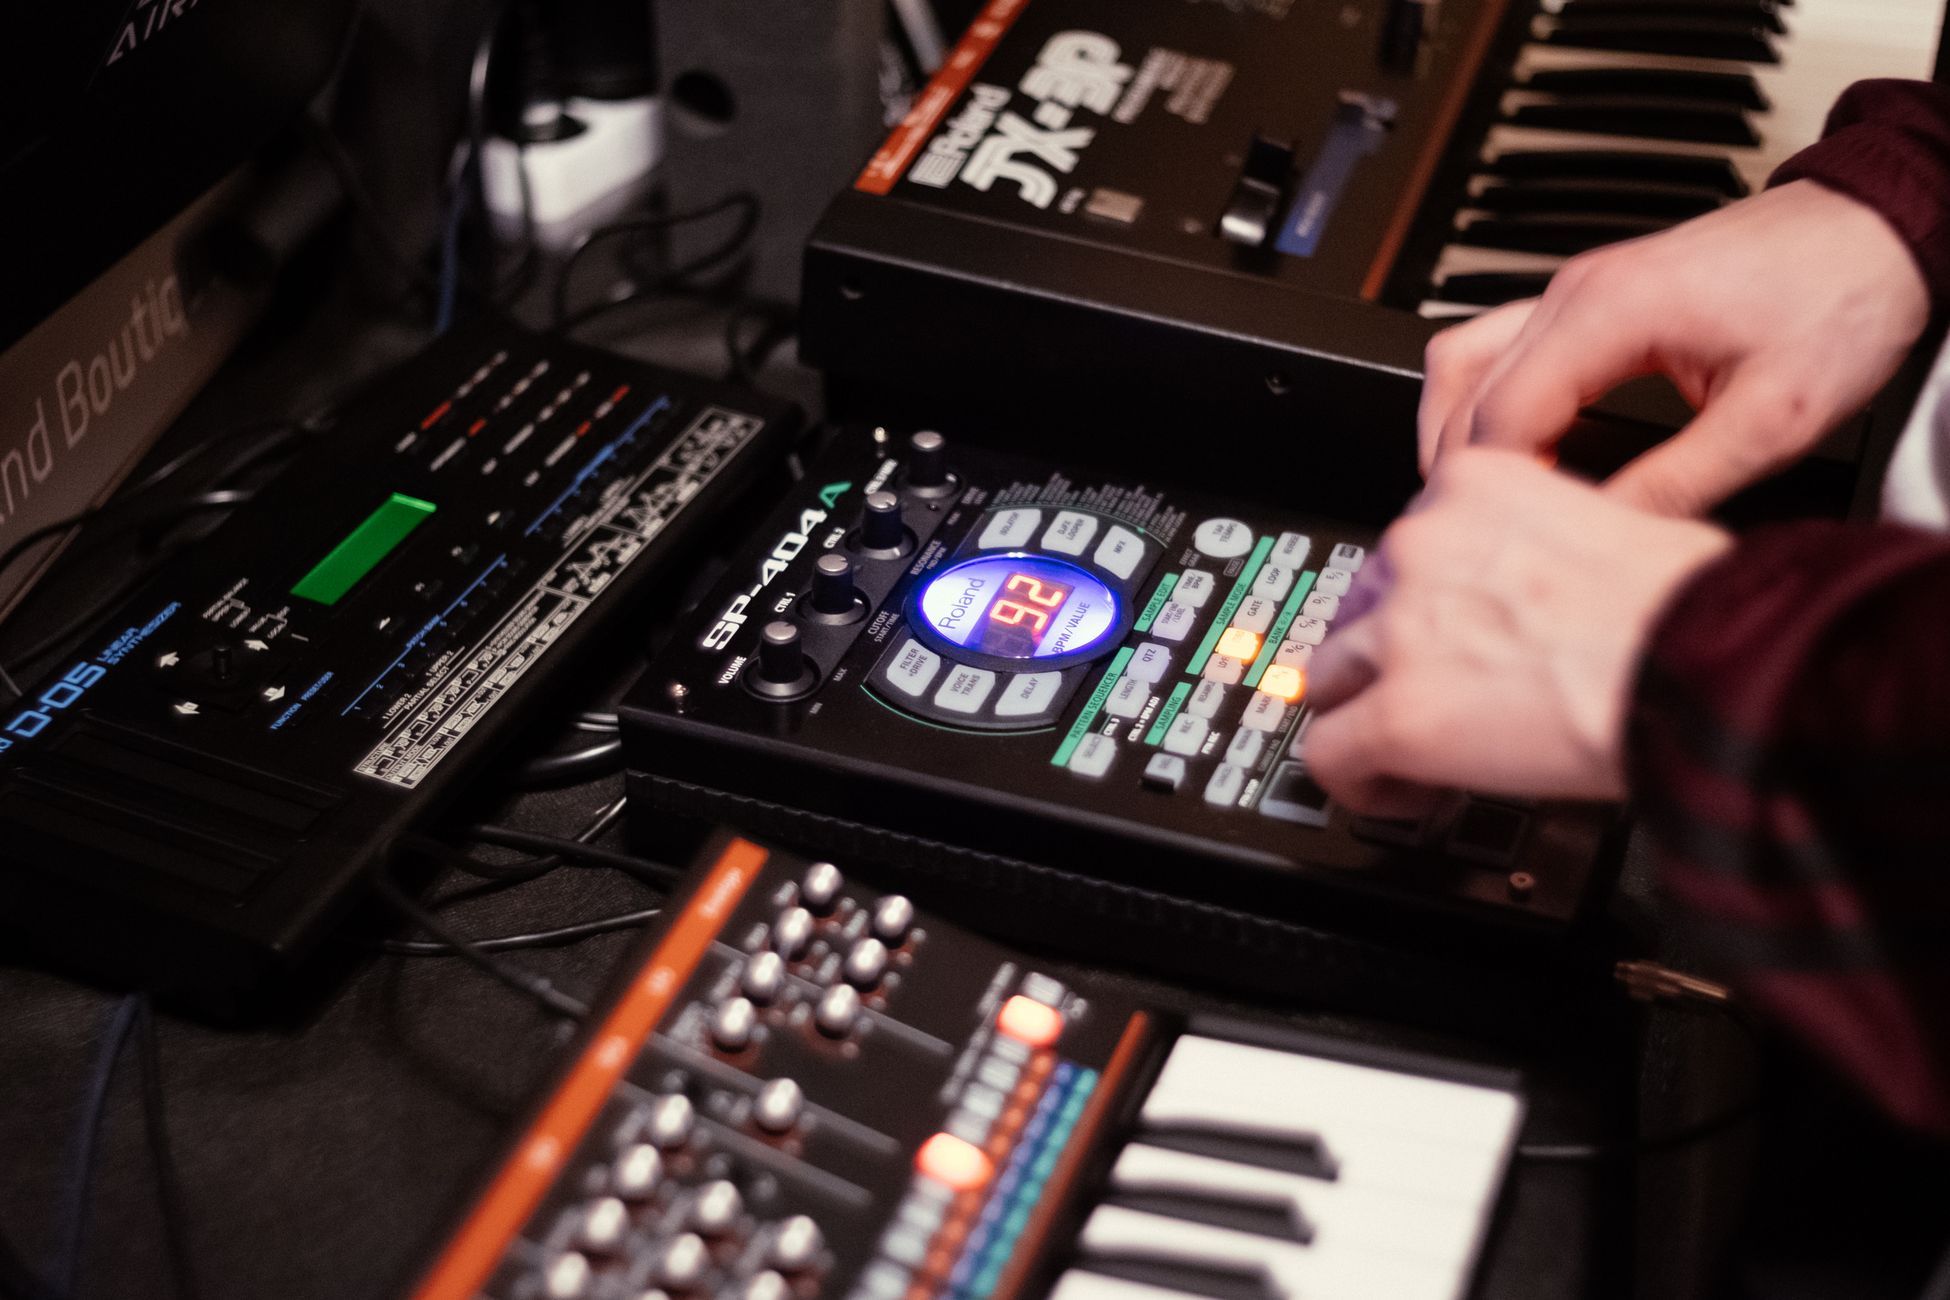
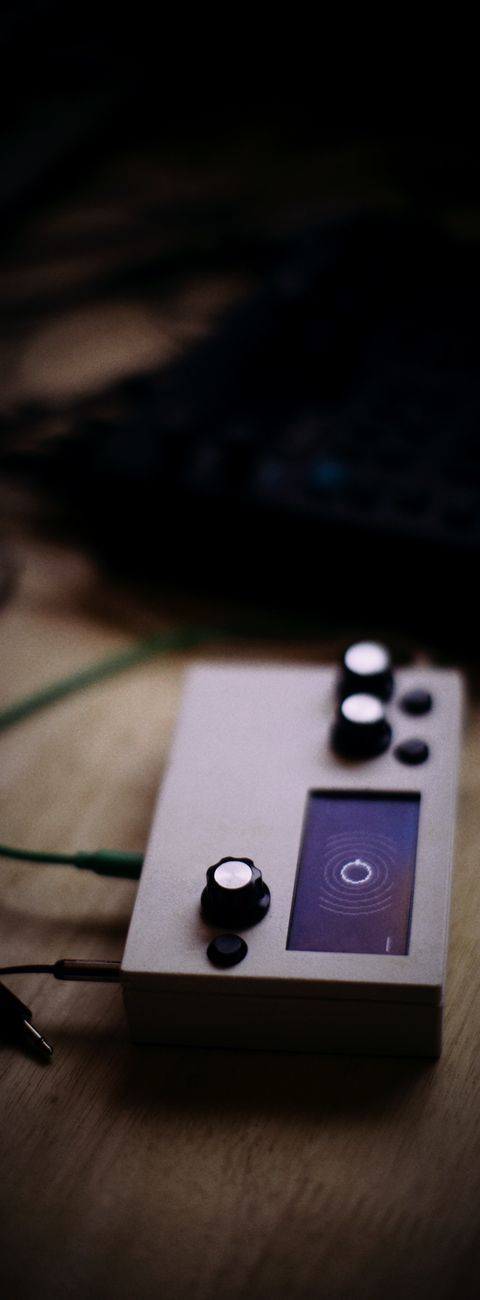
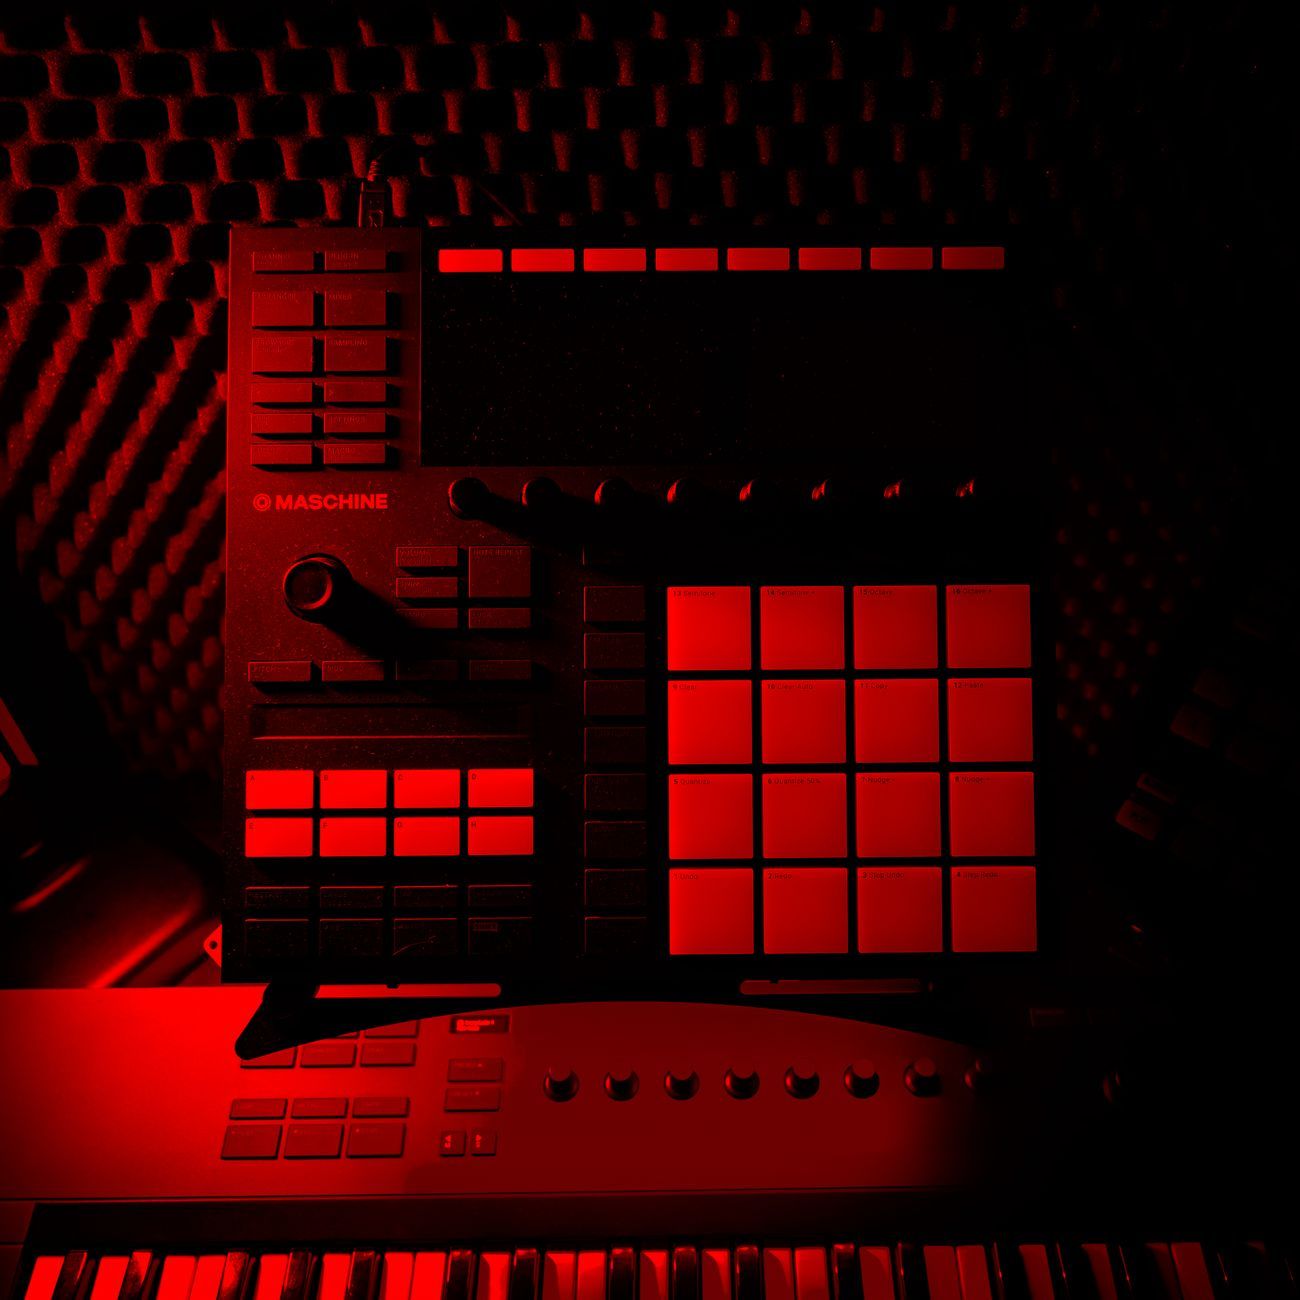
A digital music sampler may be a dedicated hardware instrument, a feature in a digital audio workstation, a mobile app, or a combination of these tools. Hardware samplers often offer hands-on pads and knobs that make performance feel immediate. Software samplers can provide detailed editing, extensive libraries, and flexible routing. Neither approach is automatically better: the right tool is the one that supports your musical habits and encourages you to experiment.
Sampling is not limited to copying existing songs or using prerecorded drum kits. It can begin with an original recording made on a phone or portable recorder. That makes audio sampling a practical way to build sounds that feel connected to your surroundings rather than drawn from a familiar preset collection.
Start by Listening to Everyday Sounds
Before pressing record, listen for qualities that might work musically. A useful sound does not have to be impressive on its own. It might have a clear attack, a resonant tail, a steady pulse, a distinctive texture, or a rhythm that appears when it is repeated. A flicked light switch could become a sharp percussion hit; a kettle’s hiss might turn into a sustained atmospheric layer; footsteps could supply a shifting groove.
Think beyond the object and focus on the sound’s behaviour. Is it short or sustained? Smooth or noisy? Predictable or irregular? Does it have a strong low end, a bright click, or a natural echo? These questions help identify what role a recording might play in a composition. The same recording can serve as a drum, a bass tone, a rhythmic loop, or a background texture after processing.
Try making a small collection of recordings with contrasting qualities. Capture a few sharp taps, a low thump, a sustained hum, a scratchy scrape, and a short burst of noise. Recording several variations gives you more choices later and makes it easier to build a balanced palette.
Recording Clean and Useful Samples
Good sound sampling techniques begin with thoughtful recording. Use the quietest practical location, and turn off avoidable sources of noise such as fans or notifications. Hold a phone or recorder steadily, and leave a little distance between the microphone and the sound source. Moving too close can produce distortion or exaggerated bass, while recording too far away may capture more room noise than the sound itself.
Record a few seconds of silence before or after the main sound when possible. This can help you hear background noise and can be useful when editing. Make several takes at different distances or angles. If the sound involves a moving object, record its complete motion rather than only the loudest moment; the approach and decay may contain useful musical details.
Pay attention to recording level. A signal that is too quiet may bring up hiss when amplified, while a signal that is too loud can clip and become harsh in an unintended way. Aim for a clear recording with headroom, and check your levels before collecting a long session. You can always increase volume later, but digital clipping is difficult to repair cleanly.
Also consider context and permission. Record sounds in places where recording is allowed, respect people’s privacy, and avoid capturing private conversations without consent. If you plan to release or sell music, be especially careful with recognisable material from commercial recordings, broadcasts, or other people’s performances. Original field recordings give you more control over how your source material can be used.
Shape Recordings into Playable Instruments
Once a recording is in your sampler, trim away unwanted silence and choose the portion that has the strongest musical character. A short fade at the beginning or end can prevent clicks. Adjust the start point, end point, and playback envelope until the sound responds naturally when triggered. A sharp attack may work well for percussion, while a slower fade-in can make a sample feel like a pad.
Changing pitch is one of the simplest ways to discover new material. Pitch a recording down to make it heavier or darker, or move it upward for a thinner, more animated quality. Extreme changes can create striking textures, although they may also reveal noise or alter the sample’s character. If your sampler supports time stretching, experiment with changing duration without changing pitch. This can turn a brief sound into a long atmosphere or make a drawn-out recording fit a faster rhythm.
Looping can transform a single event into a continuous texture. Find a loop point where the end connects smoothly to the beginning, then use crossfades or small timing adjustments to reduce clicks and jumps. A perfectly seamless loop is not always necessary: a slightly uneven cycle may add movement and make the part feel human.
Many sampling instruments let you assign one sample across several keys or pads. When a sample is spread across a keyboard, each key plays it at a different pitch, making it possible to perform a melody from a single source. For more realistic control, set several velocity layers so gentle and forceful key presses trigger different recordings or processing. This approach can make a small collection of recordings feel like a flexible, expressive instrument.
Build Rhythms from Unexpected Sources
Everyday sounds in music can create percussion that is instantly recognisable yet difficult to categorise. A book closing might supply a kick-like thump, while a pencil tapping a table provides a dry snare or rim sound. A shaker can come from coins moving in a container, dry leaves being handled, or a small object rattling in a box. The purpose is not to imitate a conventional drum kit exactly; it is to find a groove that suits the character of your sounds.
Begin by placing samples on a steady grid, then vary their timing, strength, and spacing. A strict pattern can make a sound feel mechanical and dance-oriented. Small timing shifts, velocity changes, and unexpected gaps can create a looser or more conversational groove. Try layering a low, soft impact beneath a brighter click to build a fuller drum hit. If the layers compete, adjust their timing or remove frequencies that are not helping each sound’s role.
Chopping a longer recording into short segments can reveal rhythms you did not consciously perform. Slice footsteps, a rattling object, or a repeated mechanical cycle into individual hits, then rearrange them. Reversing one slice or repeating a tiny fragment can create a rhythmic surprise. These sound sampling techniques are useful for breaking away from familiar drum patterns and discovering grooves through experimentation.
Turn Samples into Melodies and Textures
Not every sample needs to remain a recognisable recording. A bell, glass tone, or brief squeak can become a melodic voice when pitched across a keyboard. A short, noisy sound can also be stretched, filtered, and layered until it becomes a sustained tone. These methods support creative music production by allowing one source to take on several different musical roles.
For a simple experiment, record a resonant household object and load the best strike into a sampler. Tune it to a note that fits your project, then try playing a short phrase. If the sound changes noticeably from one pitch to another, that variation can add personality. You can also limit the playable range to keep the sample from becoming unnatural in registers where it does not work well.
For textures, start with a longer recording such as wind, water, room tone, or a sustained appliance hum. Apply filtering to emphasise a particular region, then use reverb, delay, or modulation to add depth and movement. Automation can gradually change a filter or effect over time, allowing a static recording to evolve. A textured layer can provide atmosphere behind a beat without needing to dominate the mix.
Layering works best when each sound has a clear purpose. One sample might provide the attack, another the body, and a third the lingering tail. Listen at a moderate volume and remove layers that make the result crowded. A small number of carefully chosen sounds often communicates more clearly than a large stack of effects.
Make Experimental Music Creation Feel Intentional
Experimentation can produce surprising results, but a composition still benefits from decisions about mood, pacing, and structure. Choose a central idea before arranging every sample. You might aim for a playful beat made from kitchen sounds, a tense sequence built from metallic knocks, or a calm ambient piece using recordings from a park. A clear concept gives your choices direction without limiting discovery.
Build a short section first. Create a rhythm, add a bass or tonal layer, and introduce one contrasting texture. Then listen for what the piece needs: more space, a change in energy, a memorable motif, or a clearer transition. Once a useful section exists, create variation by removing parts, changing sample order, altering effects, or introducing a new recording. Repeating an idea helps listeners recognise it; changing it keeps the piece moving.
Keep alternate versions of important edits. Sampling can involve destructive changes such as reversing, stretching, or heavily filtering a sound. Saving a clean original recording makes it possible to return to the source and try a different direction. Label files clearly, including the source and any notable processing, so a growing sample library remains useful instead of becoming a confusing collection of unnamed clips.
Practical Sound Design for Musicians
Sound design for musicians is not only about applying effects. It includes choosing the source, editing it, assigning it to a musical role, and deciding how it interacts with the rest of the arrangement. A processing chain can be simple: trim the sample, shape its envelope, adjust its tone with an equaliser, and add a modest effect if the part needs space or movement. More processing is not automatically more creative.
Compare processed sounds with their original recordings. This helps ensure that an effect improves the idea rather than merely making it louder or more dramatic. Watch for unwanted clicks, harsh resonances, and excessive low-frequency buildup, particularly when layering several samples. A sampler’s filters and envelopes can often solve these issues before additional plug-ins are needed.
Organisation matters as well. Save promising sounds in folders by function, such as percussion, tonal samples, atmospheres, and transitions. Add short notes about how each sound was recorded or processed. Over time, a personal library becomes a set of sampling instruments that reflects your taste and creative environment.
From Household Recording to Unique Musical Compositions
The most memorable results often come from combining familiar sources in unfamiliar ways. A sequence of taps may become a drum pattern; a stretched recording may supply a harmonic bed; a tiny mechanical click may become the hook. These transformations demonstrate why a music sampler is more than a playback device: it is a tool for listening differently and reimagining the sounds already available to you.
Begin with a few recordings, make deliberate edits, and let curiosity guide the next step. Try changing pitch, chopping, looping, layering, and rearranging, but keep the musical intention in view. Whether you use hardware, software, or a phone, audio sampling can help you create work that feels personal and surprising. With patience and regular practice, everyday sounds can become the raw material for unique musical compositions—and a distinctive musical voice.