From Parts to Power: How to Assemble Your Own PC
Are you ready to take your tech skills to the next level? Building your own computer can be a rewarding and empowering experience. From selecting the best components to assembling them into a powerhouse machine, DIY PC building is a fantastic way to customize your system to suit your needs. In this guide, we will take you through the step-by-step process of assembling your own PC, giving you the tools and knowledge you need to bring your dream machine to life.
1. Planning Your Build
Before you begin assembling your PC, it's crucial to plan out your build. Decide on the purpose of your computer (gaming, work, content creation, etc.) and set a budget. Research the best PC build components that fit your needs and budget, ensuring compatibility between all parts.
2. Gathering Your Parts
Once you have a clear plan, it's time to gather all the necessary components for your build. The essential components include a motherboard, CPU, RAM, storage (SSD or HDD), graphics card, power supply unit (PSU), case, and any additional peripherals you may need.
3. Building Your PC
Now comes the fun part – assembling your PC. Follow these steps for a successful build:
- Prepare your workspace with a clean, well-lit area.
- Install the CPU onto the motherboard, ensuring proper alignment and applying thermal paste if necessary.
- Insert the RAM into the appropriate slots on the motherboard.
- Mount the motherboard into the case, securing it with screws.
- Install the storage drives and connect them to the motherboard.
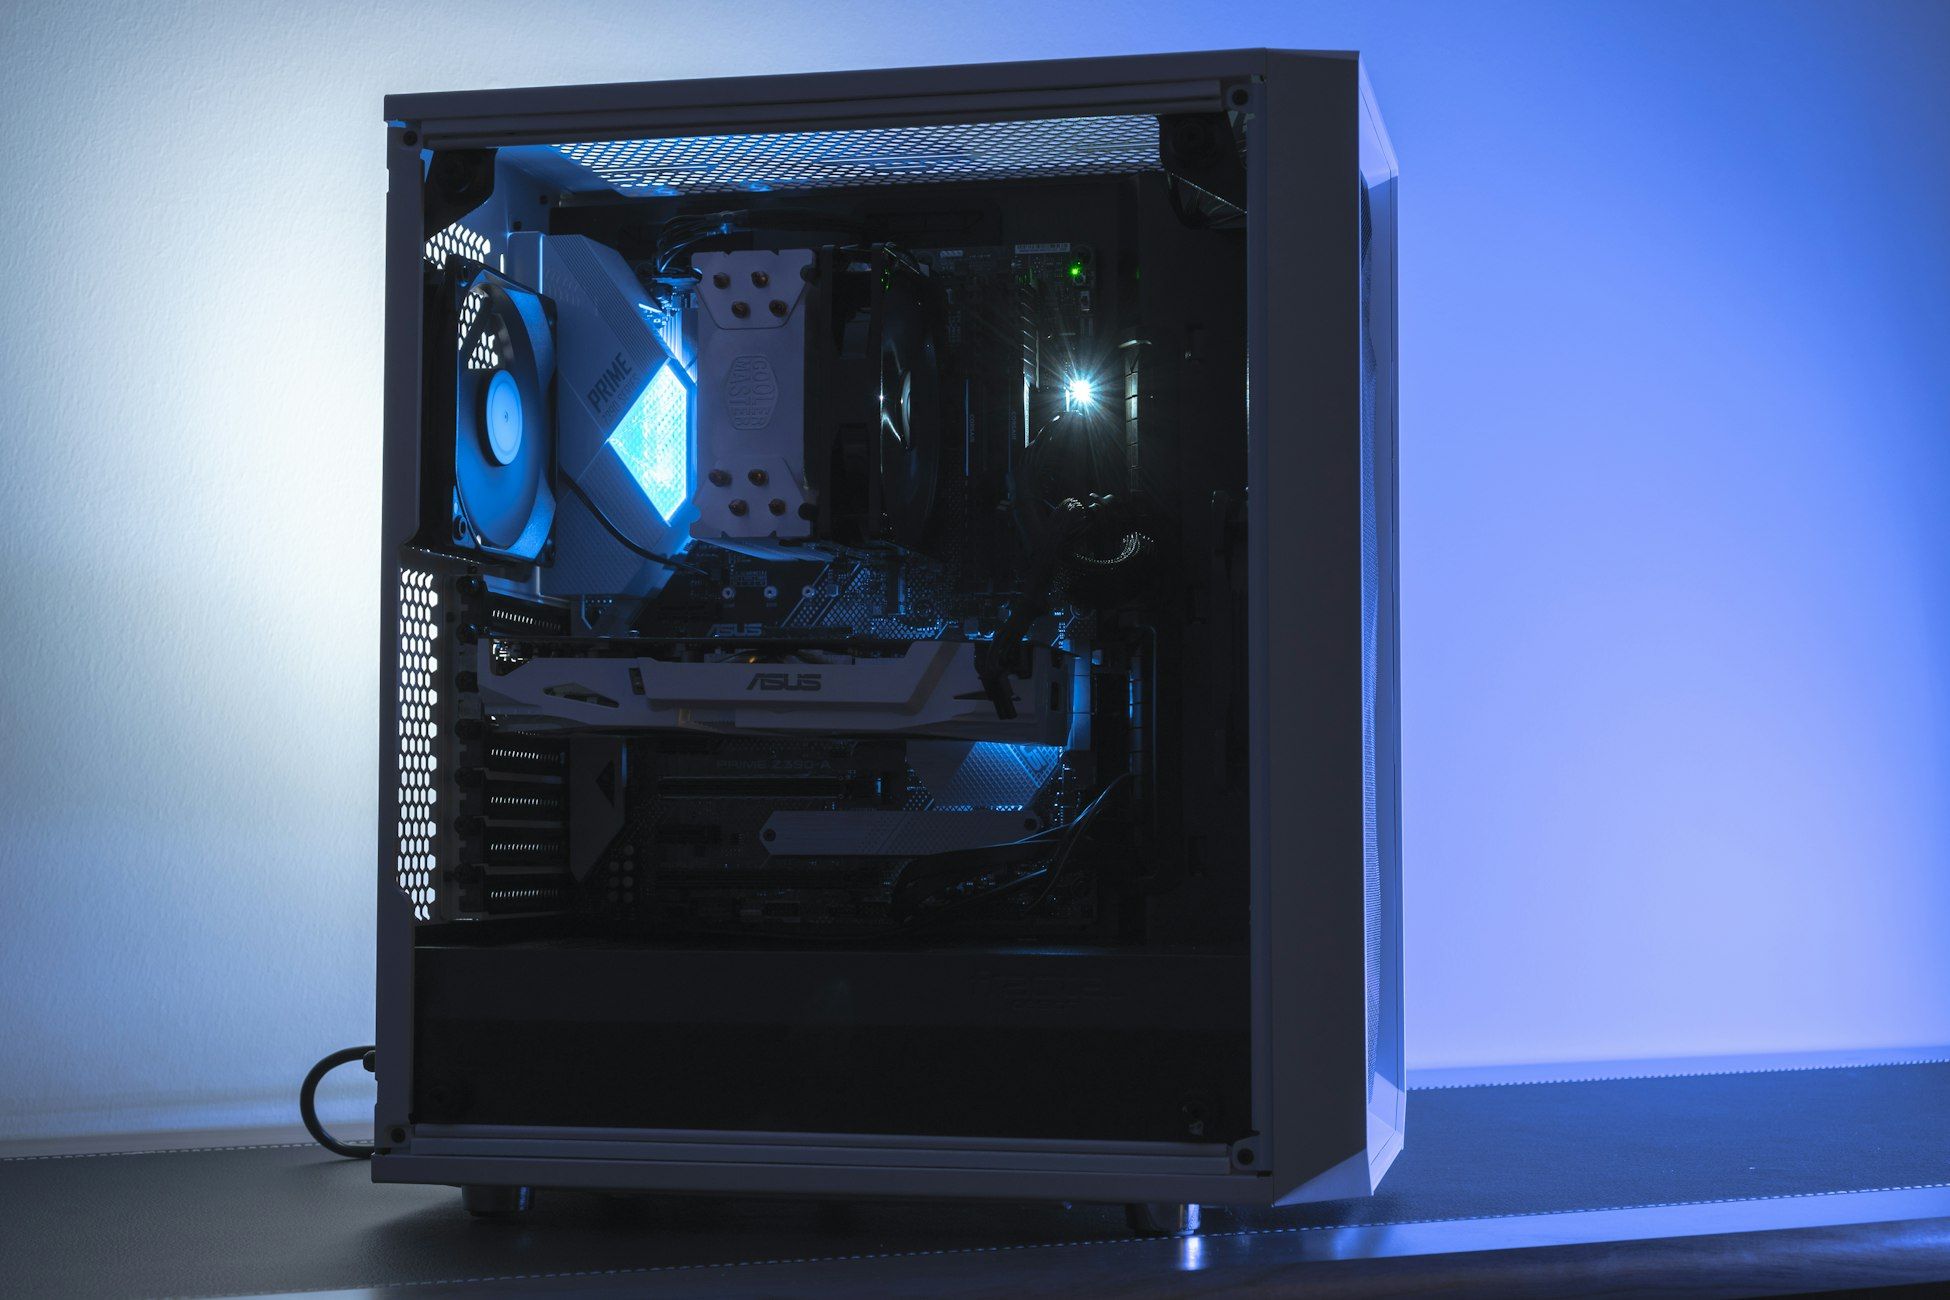
- Attach the graphics card to the motherboard and insert it into the PCIe slot.
- Connect the power supply unit to the motherboard, CPU, GPU, and storage drives.
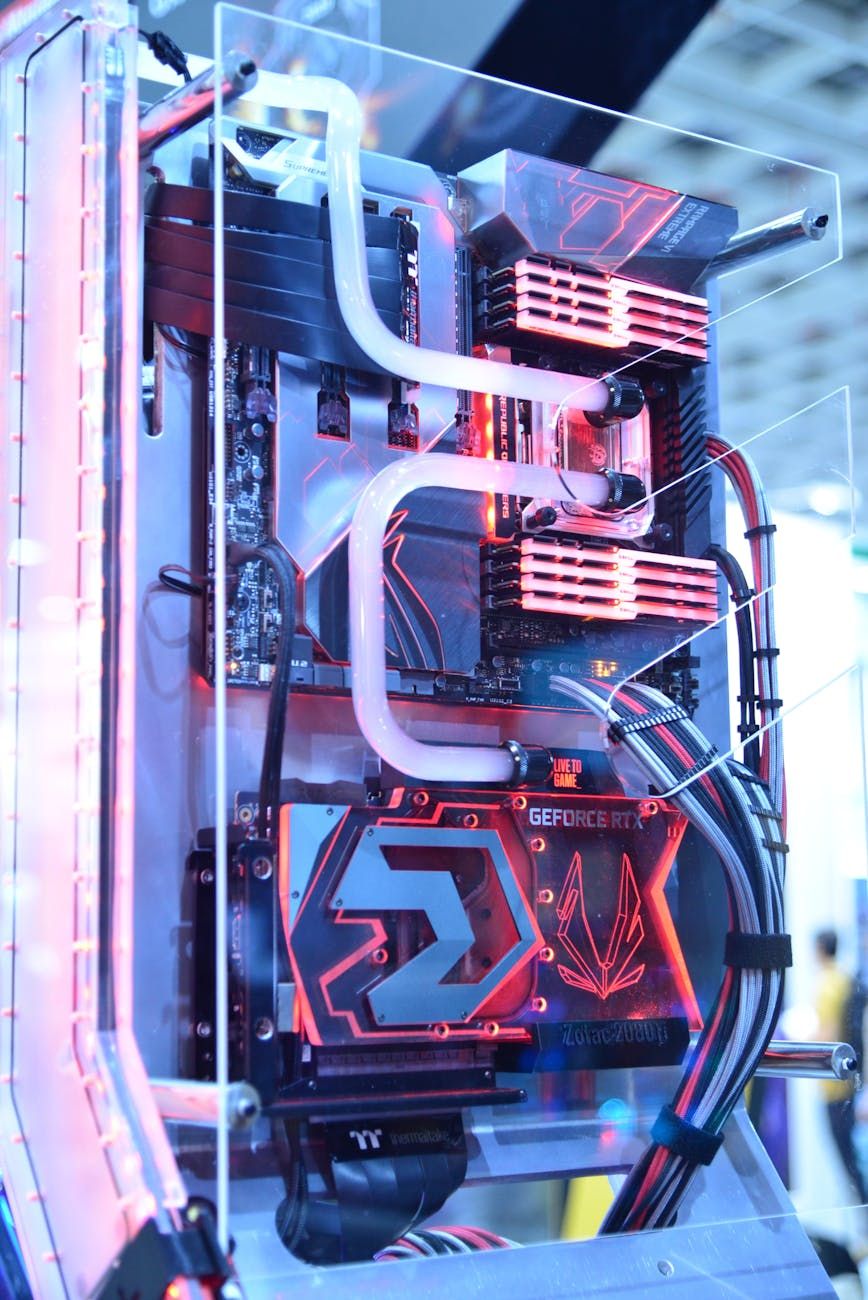
- Organize and route your cables to ensure proper airflow and aesthetics.
- Close up the case and power on your new PC!
4. Testing Your Build
Once you have assembled your PC, it's time to test it to ensure everything is working correctly. Power on the PC and check that all fans are spinning, lights are on, and the system boots up properly. Install your operating system and run stress tests to check for stability.
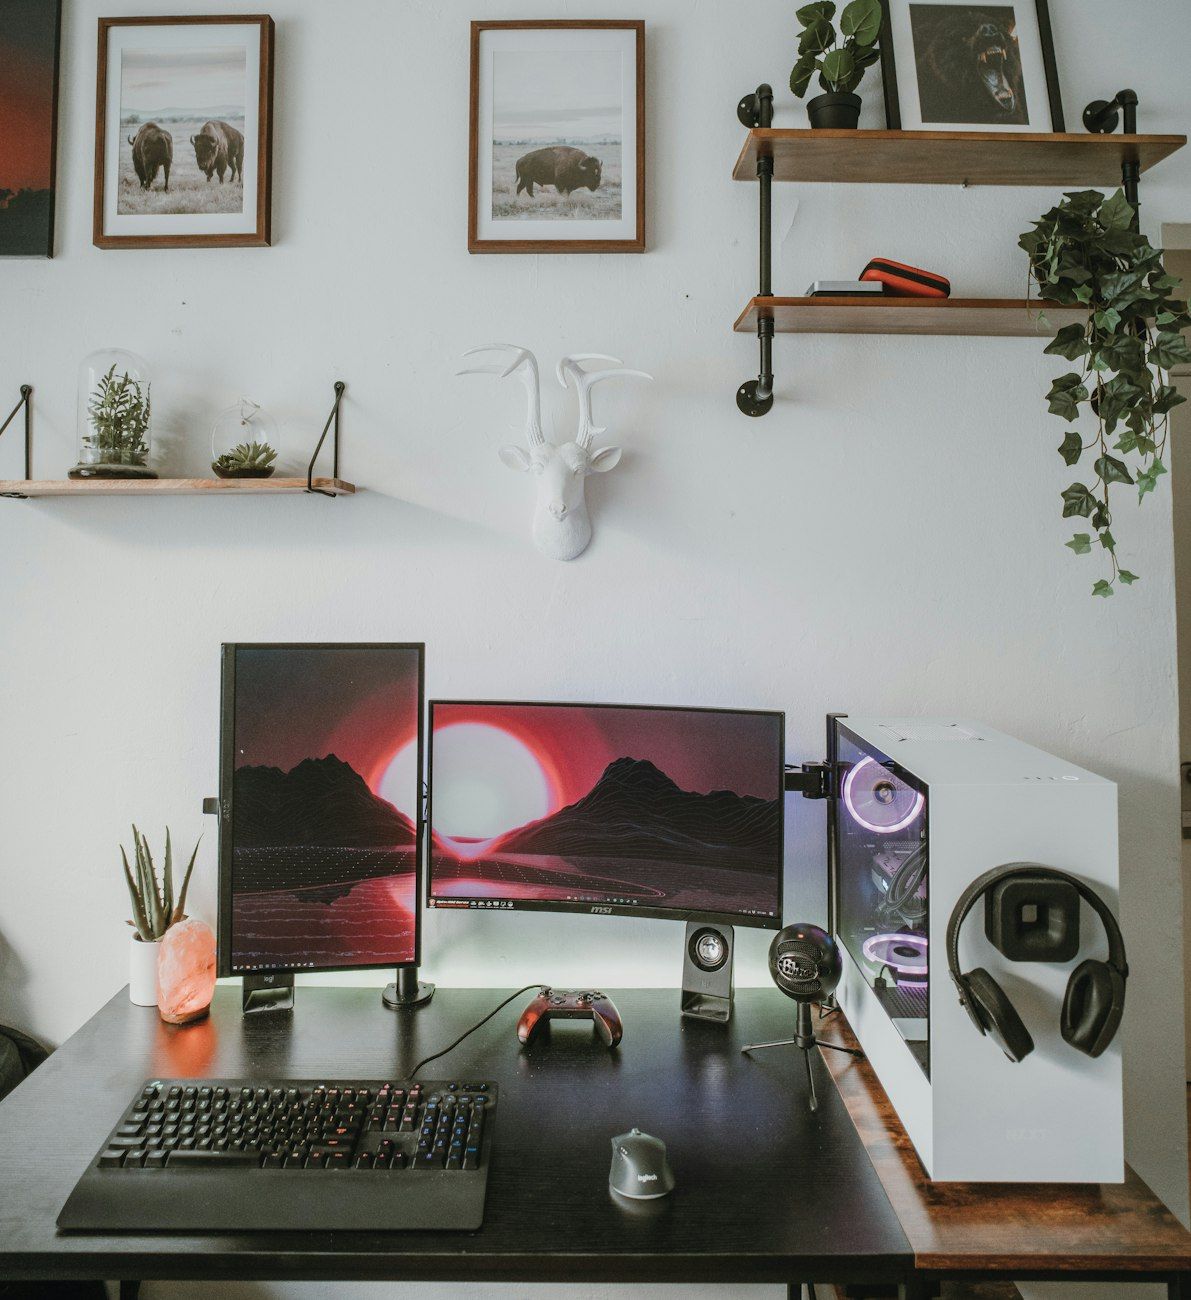
5. Personalizing Your System
With your PC up and running, it's time to personalize it to your liking. Install your favorite programs, games, and customizations to make your PC truly yours. Don't forget to share your build on social media or online forums to inspire others!
Building your own computer is a fantastic way to gain a deeper understanding of how PCs work and customize a system that perfectly fits your needs. Whether you're a beginner or an experienced builder, following this DIY PC building guide will help you create a powerful and unique machine that you can be proud of.
So, roll up your sleeves, grab your screwdriver, and dive into the world of custom PC building. Your dream rig awaits!